Showing posts with label blog. Show all posts

Thursday, August 7, 2014

Pretty Woman - Swatches and Review

HI everyone! Today I have a few products from Pretty Woman.   All of their polishes are 5-free, vegan and cruelty-free. They are handmade in New York and are available for purchase at Rite Aid stores nationwide, as well as www.PrettyWomanUSA.com.


Tuesday, June 10, 2014

Mani Swap with @PolishPals

I had the privilege of doing a mani swap with the lovely Jenna of @polishpals this week!

In case some of you don't know, a mani swap is where two or more nail artists get together and recreate one of the other person's manis.

I chose to recreate Jenna's green and white tribal mani and she chose my


Inspired by - A Border

In keeping with my 'Inspired By' posts, today I have another recreation of a border pattern I found during a google image search. I believe I typed in "art deco patterns" when I found this.


Saturday, May 24, 2014

MDJ Creations - Independence Day Duo (Swatches and Review)

I have duo of amazing patriotic polishes from Melissa at MDJ Creations, just in time for Independence Day! 

Wednesday, May 21, 2014

Liquid Frosting Nail Color - swatches and review

Liquid Frosting was opened in 2012 and is owned and operated by Brendolyn Marie. It is a vegan and 5 free indie brand.


Sunday, May 18, 2014

Vapid Lacquer (Swatches and Review)

I was super excited to review more polishes from Vapid Lacquer because everything I've ever used of hers is AMAZING!

She is one of the best scattered and linear holo polish maker I know! They always have amazing formulas, superior coverage and gorgeous colors. This round of polishes is even better than the last ones I've tried!


Friday, May 2, 2014

Little Nail Girl - Swatches and Review

I was super excited when Heather, owner of Littlenailgirl Lacquers, announced that I was one of the lucky girls chosen to be a new beauty blogger for their polish line. Lets just say I was beaming from ear to ear that day! Thank you so much to Heather and the Littlenailgirl team for entrusting your beauties with me!


Thursday, April 24, 2014

Picsart Watermark Tutorial (Mobile App for Androids only)

When you first open your picture on the Picsart mobile app it will look like the picture below. Click the "A" to add text to the picture (circled in yellow)


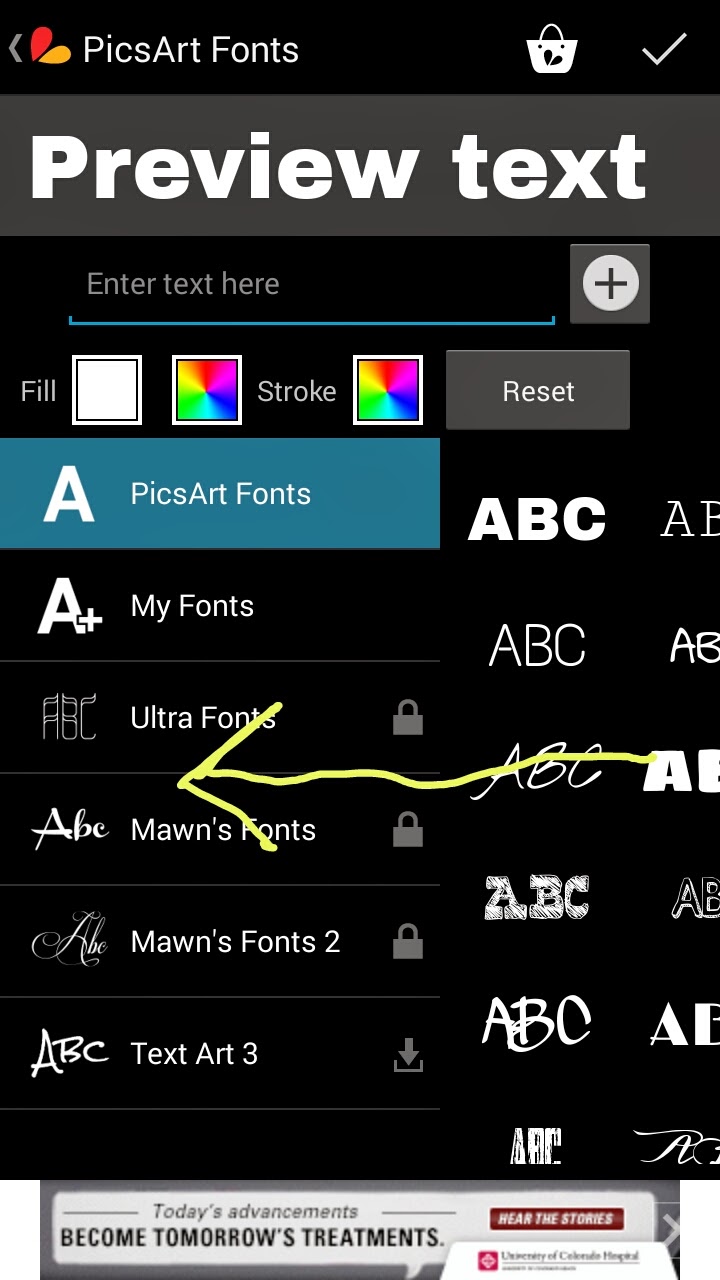
After clicking on the "A", the screen below will pop up. Here is where you change the font type and color. Slide the screen to the left to view the fonts available that are free.


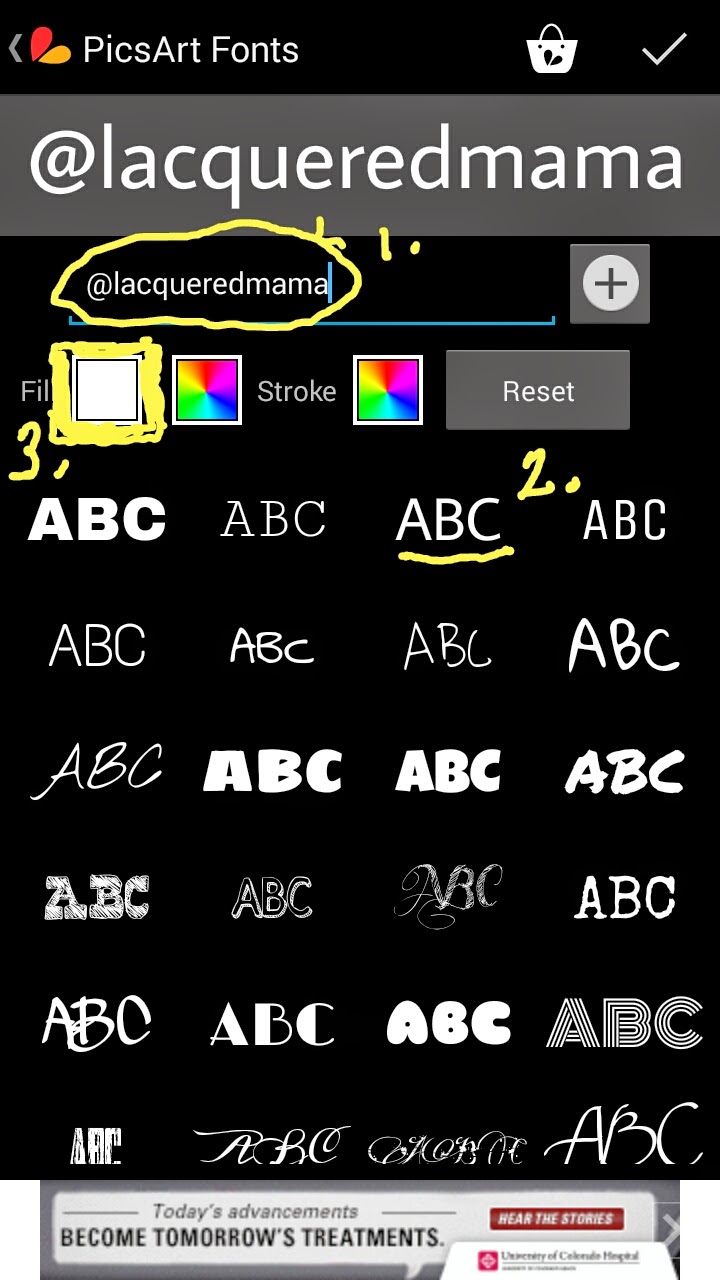
Now follow these steps: (also see the pictures below)
1. type in the text you want
2. choose the font (pick any font you want)
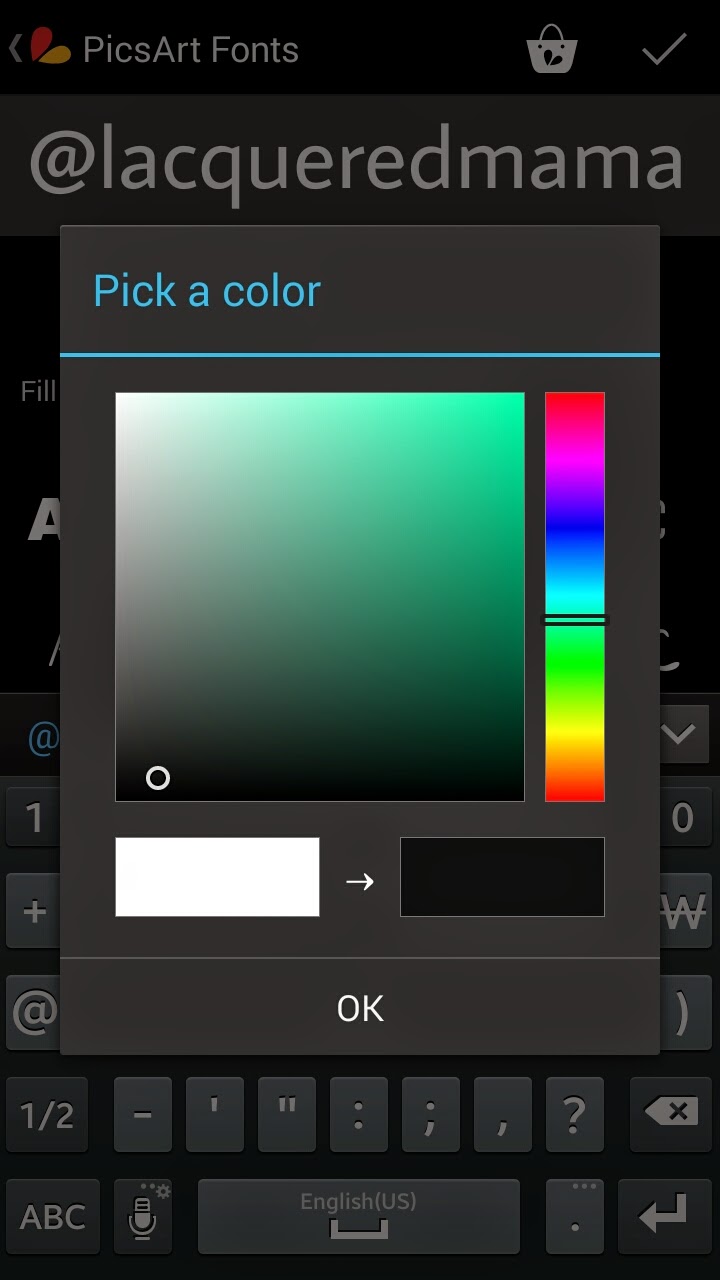
3. pick the text color (I chose black) 

1&2 3.


4. Click on the check mark in the top right hand corner;
The text will appear as seen in the left picture below.

To resize, click on the arrow in the white circle and move is around until you have the size you want. To change the orientation, click on the arrows in the grey circle and move them around until the font is facing the direction you want. You can move the text anywhere on the screen by simply dragging it with your finger/mouse.


To wrap the text, click on the icon circled in yellow (as seen below- pic 1.). A box will appear listing Orientation, Opacity and Wrap. Click wrap. Move the slider bar until the text is wrapped to your specifications (as seen below - pic 2.) As you wrap the text it will move out of place, just simply click and drag it back to where you want it.


To change the opacity, click on the box (as seen in pic1.) and choose opacity. Again a slider bar will appear at the bottom. Slide it until you have the text at the opacity you desire. 
Once the text it wrapped and the opacity is changed you can click the check mark in the bottom right hand corner. 

Wallah! you're done! Be sure to save your work before exiting the application!.


I am no tutorial expert, but I really hope this helps all of you. Any feedback would be greatly appreciated!

Thanks for reading!