When you first open your picture on the Picsart mobile app it will look like the picture below. Click the "A" to add text to the picture (circled in yellow)
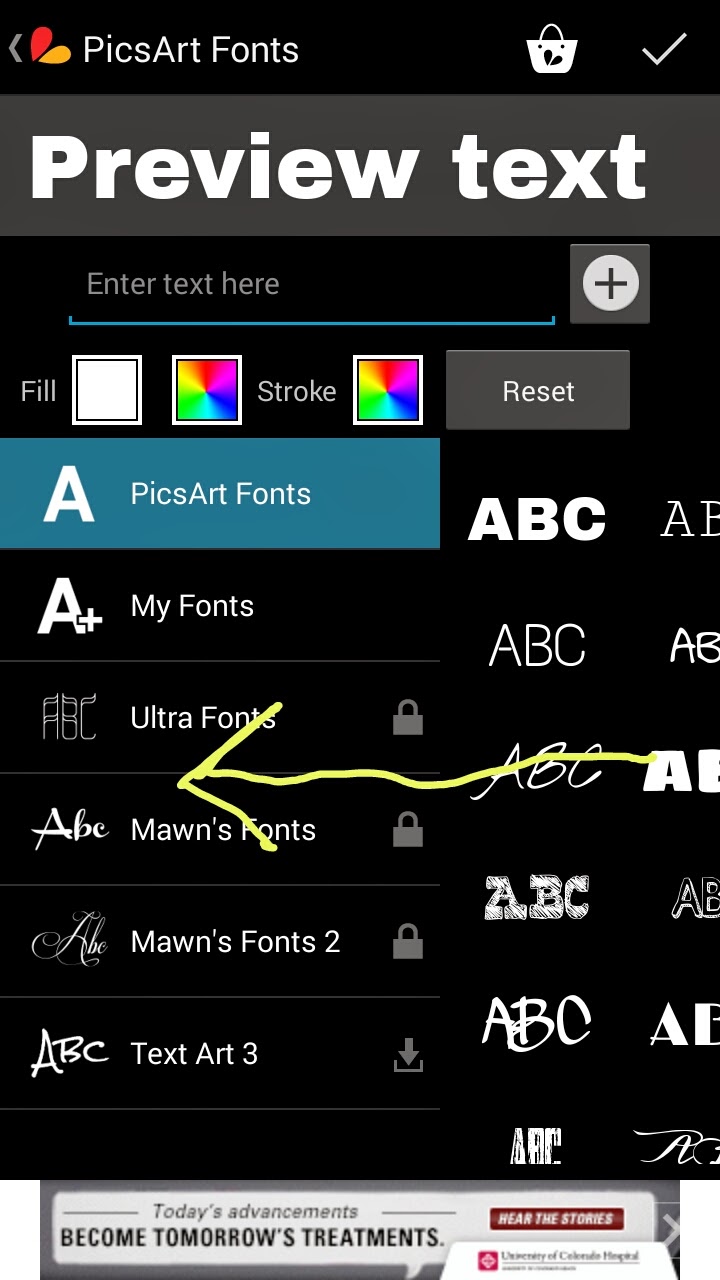
After clicking on the "A", the screen below will pop up. Here is where you change the font type and color. Slide the screen to the left to view the fonts available that are free.
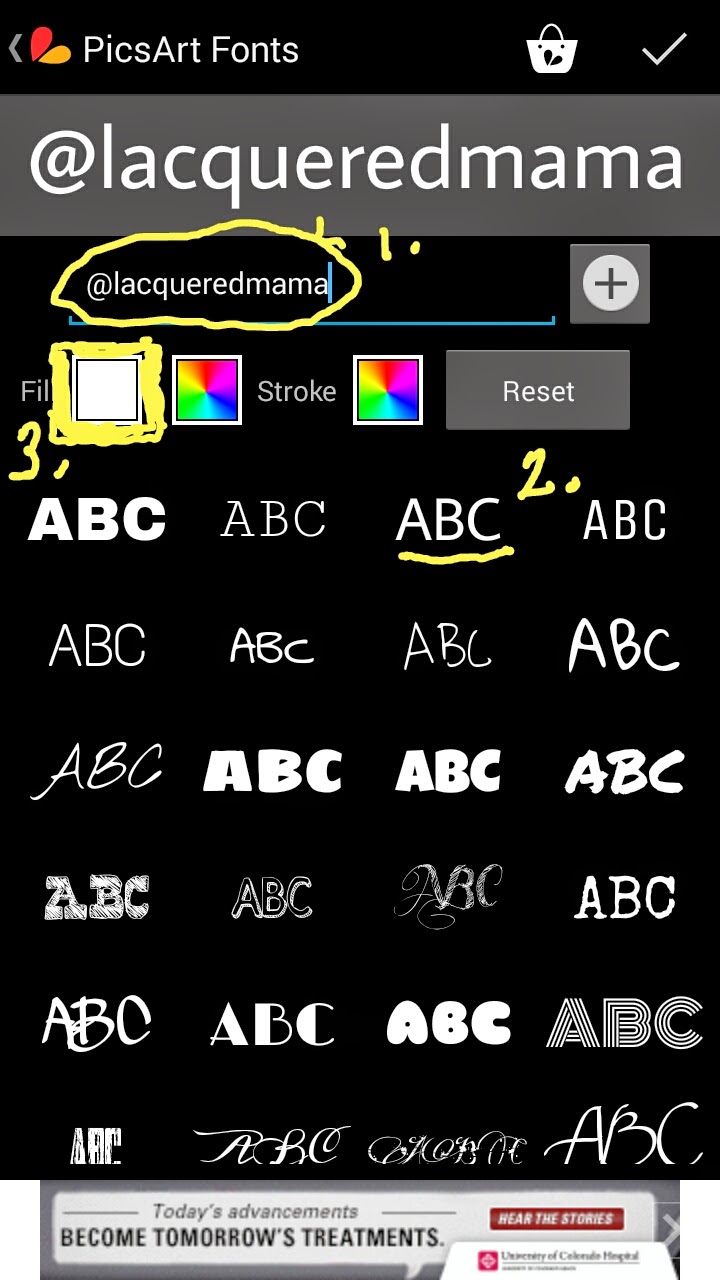
Now follow these steps: (also see the pictures below)
1. type in the text you want
2. choose the font (pick any font you want)
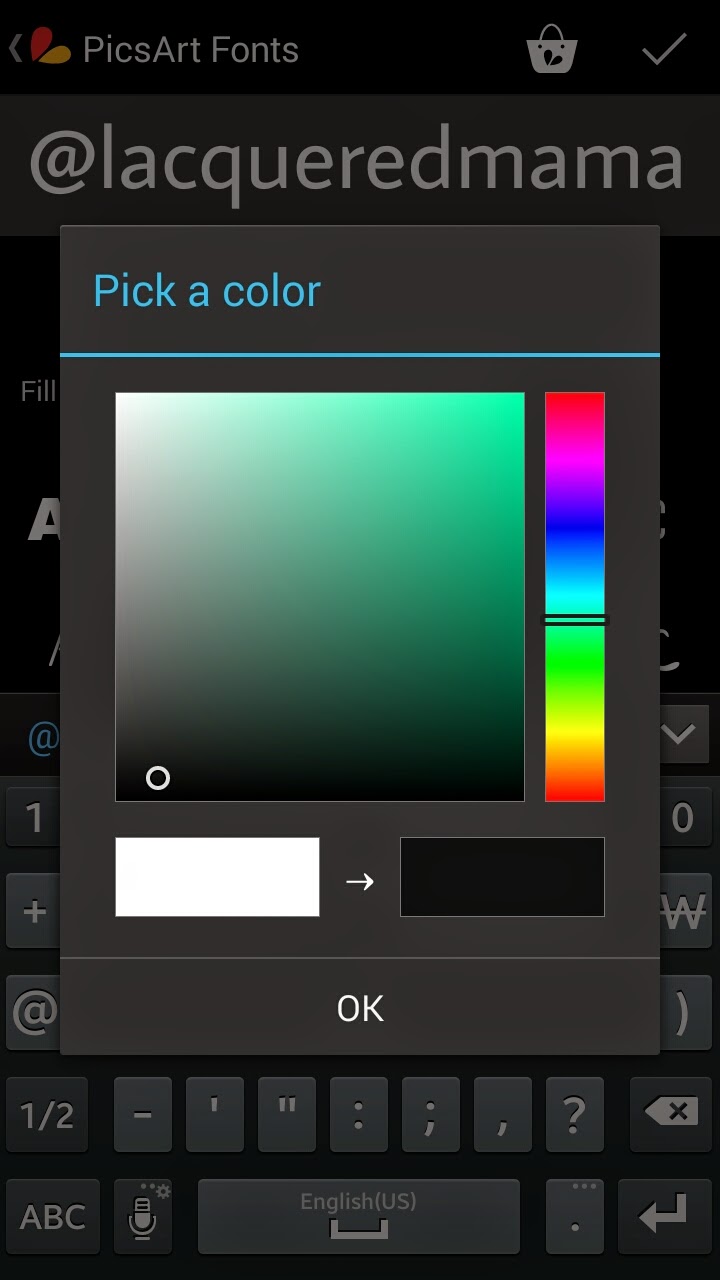
3. pick the text color (I chose black)
4. Click on the check mark in the top right hand corner;
The text will appear as seen in the left picture below.
To resize, click on the arrow in the white circle and move is around until you have the size you want. To change the orientation, click on the arrows in the grey circle and move them around until the font is facing the direction you want. You can move the text anywhere on the screen by simply dragging it with your finger/mouse.
To wrap the text, click on the icon circled in yellow (as seen below- pic 1.). A box will appear listing Orientation, Opacity and Wrap. Click wrap. Move the slider bar until the text is wrapped to your specifications (as seen below - pic 2.) As you wrap the text it will move out of place, just simply click and drag it back to where you want it.
To change the opacity, click on the box (as seen in pic1.) and choose opacity. Again a slider bar will appear at the bottom. Slide it until you have the text at the opacity you desire.
Once the text it wrapped and the opacity is changed you can click the check mark in the bottom right hand corner.
Wallah! you're done! Be sure to save your work before exiting the application!.
I am no tutorial expert, but I really hope this helps all of you. Any feedback would be greatly appreciated!
Thanks for reading!



 3.
3.